Self-built accessories

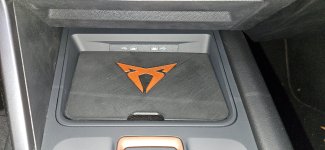
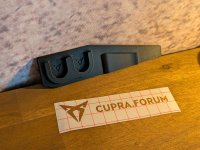
Exactly these "side walls" are the problem. I think you can also see that in your solution. The gap at the back left doesn’t fit 100% (and that would be my standard), because the three surfaces are completely skewed relative to each other and the insert, being slightly smaller in size, simply ends up resting at some height (this is not a criticism, it’s designed that way and does exactly what it’s supposed to).

But of course, another approach would be to base it on the insert with a cut-out for the phone.
 
I can gladly make you a template of the insert, on A4 and then scan it, that should be the simplest option and work without any issues, right?

Edit: The issue with the gap could also be because the shelf in the picture is not positioned as it should be. The USB ports should actually be visible (that's how I have it positioned now). I'll take another picture in the correct position. I think then there shouldn't be any gap anymore, since the shape is already like the compartment, and the sides are asymmetrical in my opinion for that reason.
 
Last edited:
Here is a better picture again
20250721_152638.jpg
 
Even though I really don't want to link elsewhere (sorry @Milan ), @Melfinos Maybe that corresponds roughly to your expectations?
Ablagefach Handy

If unwanted, I will gladly remove the link!
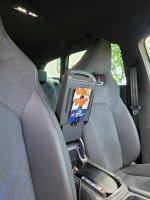
It's not exactly where I want to go, but it goes exactly in that direction. However, it would at least be one possibility/variant. Before I pay 15 euros for shipping, I would rather give the total amount (about 37 euros) that I need through Etsy. @Milan in commission
 
Last edited:
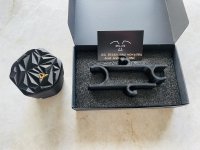
Today I received a small package again from the dear @Milan 🙂
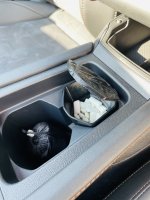
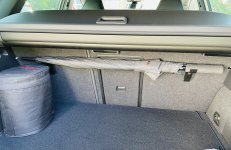
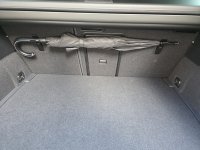
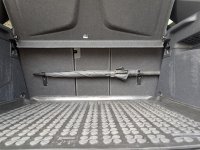
How @Sniker The umbrella holders are really great!
I will take more pictures in the car.
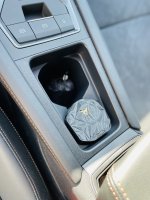
EDIT: Pictures attached

The small container has also been installed and is currently filled with chewing gum. Let's see what other uses I can come up with. 👌
 

Attachments

  • IMG_7396.jpeg
    IMG_7396.jpeg
    3.1 MB · Views: 111
  • IMG_7401.jpeg
    IMG_7401.jpeg
    2.6 MB · Views: 87
  • IMG_7403.jpeg
    IMG_7403.jpeg
    2.6 MB · Views: 87
  • IMG_7405.jpeg
    IMG_7405.jpeg
    4.4 MB · Views: 88
Last edited:
20250725_101625.jpg
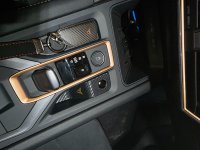
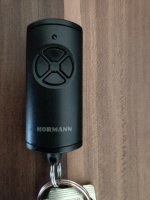
The garage door opener has been modified and fits very well into the car design-wise.


20250725_101632.jpg
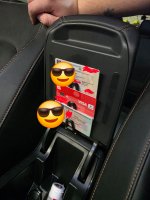
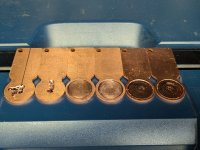
Cardholder, holds bomb-proof, would be cool if one could have put in even more, my most important cards readily available in the holder.

20250725_101648.jpg
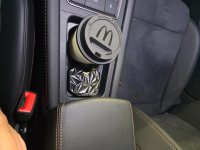
The cup, in the cool triangle design, currently has nothing inside, but fits perfectly, for example in relation to the McDonald's reusable cup hahaha


Thank you very much to @Milan for work :)
 
Last edited:
Yay! I will report back....
 
But you can see the progress! 😂👌
 
Sieht echt toll aus, für mich jedoch kaum zu gebrauchen da ich 2 Tore habe; Ein- und Ausfahrt - oben und untenÖffner.jpg
 
Ich glaube das ist fürn Milan keine Herausforderung ^^ aber das muss er dir sagen hahaha
 
Dann baut man einfach einen Doppeldrucktaster oder zwei Drucktaster ein, statt dem einen. Ist ja nur eine Frage der Platine darin.
 
Sollte möglich sein, so einen hat mir der Milan umgebaut bereits ^^
 
Kann man schon machen, entweder zwei kleinere Taster oder Doppeldruck, wobei die schweineteuer sind.

Habe aber noch keine "schönen" Taster gefunden mit einem Durchmesser unter 10-12mm... Das 3D-Modell ist schnell geändert
 

* = Advertisement
Links marked with an asterisk (*) are affiliate links. If you click on one of these links and make a purchase, we receive a commission from the respective online shop or provider. This does not affect the price you pay.

cupra.forum · Alle Rechte vorbehalten · Dies ist kein Forum der Seat Cupra S.A.U.
Back
Top